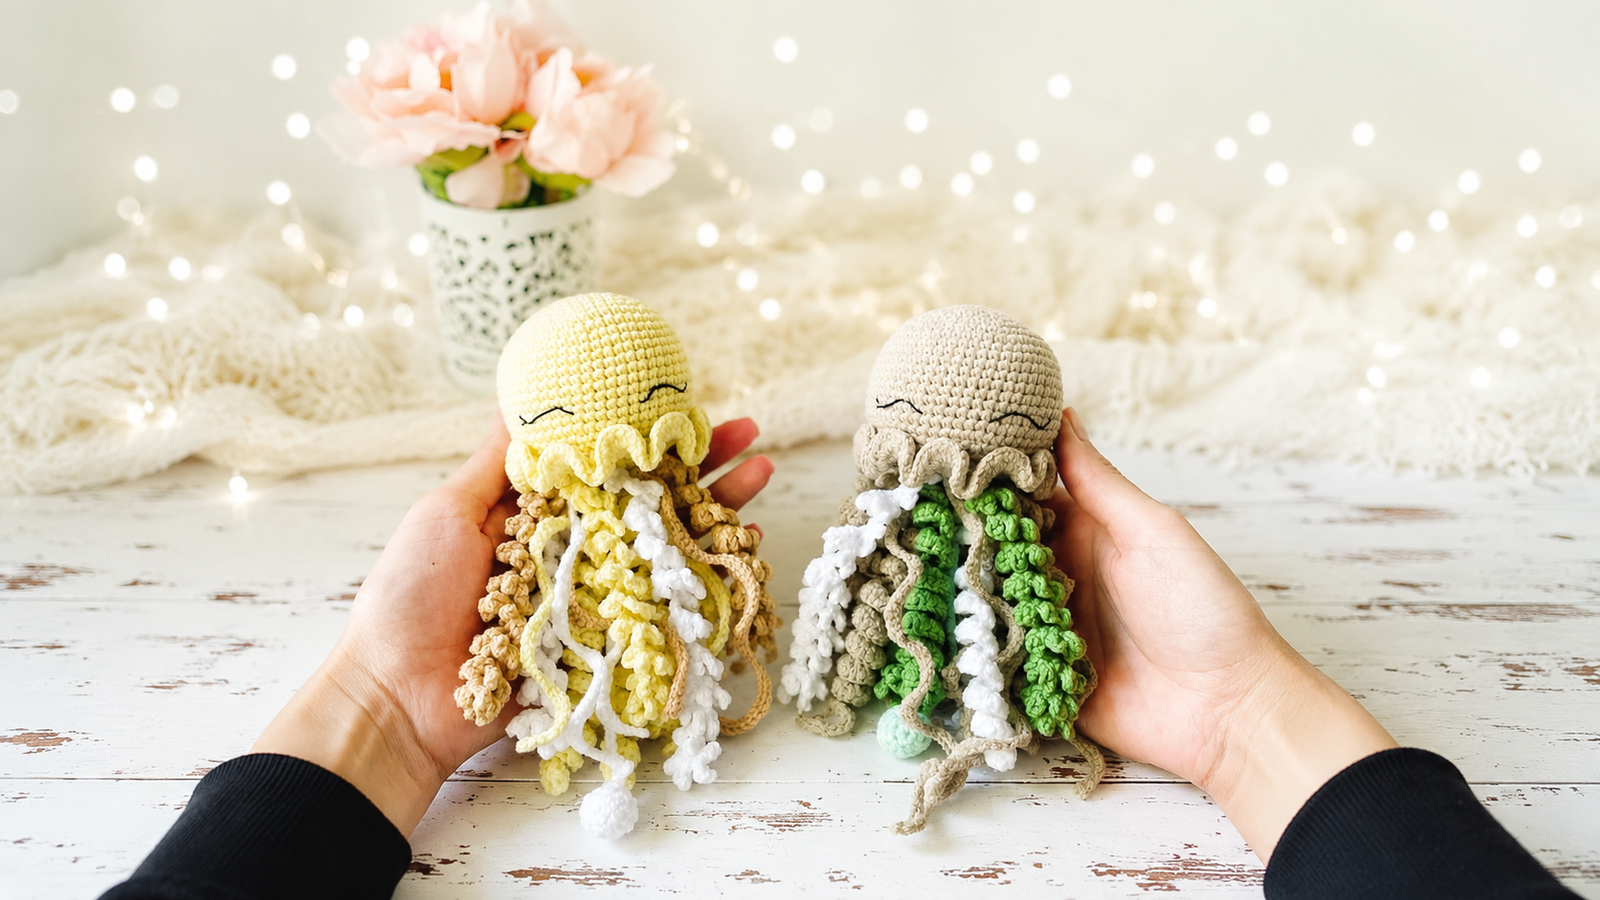
This jellyfish amigurumi is one of those sweet projects that wins you over at first sight: it has a soft shape, tentacles with lots of movement, and an embroidered little face that turns it into a delicate and safe amigurumi toy. If you love cute crocheted dolls, this free crochet pattern is a beautiful option for creating a light, colorful piece full of charm.
The design combines a rounded upper part, a crocheted base, and several types of tentacles, giving the finished piece texture and volume without losing its tenderness. Since the eyes are embroidered, this crocheted jellyfish can also be a safer option for small children, as long as it is made with firm seams and suitable materials.
Below you will find the complete step-by-step tutorial to crochet this jellyfish amigurumi, including materials, abbreviations, tips before starting, assembly, and finishing details.
Amigurumi technical details
- Difficulty level: easy intermediate, mainly because of the variety of tentacles.
- Estimated crochet time: approximately 3 to 5 hours, depending on your experience and crochet tension.
- Approximate finished size: may vary depending on the yarn, hook size, and individual tension.
- Project type: crocheted amigurumi toy.
- Ideal for: children’s gifts, room decor, mobiles, large keychains, or soft toys.
- Main technique: working in continuous rounds, increases, decreases, chains, slip stitches, and curled tentacles.
Materials
- YarnArt Jeans yarn.
- Colors for the first jellyfish: No. 48 + No. 69 + No. 62.
- Colors for the second jellyfish: No. 67 + No. 62 + No. 07.
- 2.0 mmcrochet hook.
Advertisement / affiliate link. As an Amazon Associate, I earn from qualifying purchases.
- Black thread for embroidering the eyes.
- Polyester fiberfill, hollofiber, or a similar stuffing material suitable for amigurumi.
Before you start: useful supplies for this amigurumi
Check yarn, eyes, stuffing, and accessories before crocheting so you do not get stuck halfway through the project.
- Safety eyesAdds a clean, even expression to the doll.View options
- plastic eyesA practical way to gather supplies quickly.View options
- Yarn needleEssential for sewing pieces and hiding ends.View options
- Crochet hookThe right size keeps stitches firm and neat.View options
- StuffingSoft filling for shaping without distorting.View options
- PinsUseful for positioning pieces before sewing.View options
Links open Amazon searches related to each material.
Optional or recommended: you can use a stitch marker, a yarn needle to hide the ends, and pins to position the pieces before joining them.
If you have doubts about yarns or tools, check our: complete guide to amigurumi materials
If you need help with color changes, you can see our step-by-step guide for changing color in amigurumi.
Abbreviations
- ROUND: crochet round.
- MR: magic ring.
- ch: chain.
- sl st: slip stitch.
- sc: single crochet.
- hdc: half double crochet.
- inc: increase.
- dec: decrease.
- (…)*6: repeat the indicated sequence 6 times in the round.
- (12): total number of stitches at the end of the round.
You can review all the techniques in our guide to crochet abbreviations for amigurumi
Before you start
- Read the full pattern before beginning, because the jellyfish is assembled by joining the upper part, the lower part, and several types of tentacles.
- Keep an even tension so the head stays rounded and the stuffing does not show through the stitches.
- Use a stitch marker on the upper part, since it is worked in continuous rounds and it is easy to lose the beginning of the round.
- Do not overstuff: the jellyfish should be firm but soft, so the base can be joined correctly.
- Since the eyes are embroidered, make sure the stitches are firm and neat, especially if the toy will be used by small children.
Complete jellyfish amigurumi pattern
Lower part
ROUND 1: 6 sc in MR (6).
ROUND 2: 6 inc (12).
ROUND 3: (1 sc, inc)*6 (18).
ROUND 4: (2 sc, inc)*6 (24).
ROUND 5: (3 sc, inc)*6 (30).
ROUND 6: (4 sc, inc)*6 (36).
ROUND 7: (5 sc, inc)*6 (42).
Make 1 sl st, cut the yarn, and fasten off.
Type 1 tentacles: 3 pieces
Ch 57. Turn your work and, starting from the third chain from the hook, work hdc increases in each stitch.
Type 2 tentacles: 6 pieces
Ch 65. Turn your work and make 1 sl st in each stitch to the end of the chain.
Type 3 tentacles: 6 pieces
Ch 61. Turn your work and, starting from the third chain from the hook, crochet: 2 sl st; ch 3, starting from the second chain from the hook make 2 sl st along these chains; 1 sl st along the main chain; ch 3, starting from the second chain from the hook make 2 sl st along these chains; 1 sl st along the main chain. Repeat this sequence to the end of the round.
Small ball: 1 piece
ROUND 1: 6 sc in MR (6).
ROUND 2: 6 inc (12).
ROUND 3: (1 sc, inc)*6 (18).
ROUND 4: 18 sc.
ROUND 5: (1 sc, dec)*6 (12).
ROUND 6: 6 dec (6).
Close the opening and leave a long enough yarn tail to crochet 35 ch.
This piece is attached to the center of the lower part.
Joining the tentacles to the lower part
Attach the rest of the tentacles to the lower part using the remaining yarn tails. Pull the tails to the wrong side of the piece and tie them with 2 or 3 firm knots on the inside.
The lower part of the jellyfish is now completely finished.
Upper part and edging
ROUND 1: 6 sc in MR (6).
ROUND 2: 6 inc (12).
ROUND 3: (1 sc, inc)*6 (18).
ROUND 4: (2 sc, inc)*6 (24).
ROUND 5: (3 sc, inc)*6 (30).
ROUND 6: (4 sc, inc)*6 (36).
ROUND 7: (5 sc, inc)*6 (42).
ROUND 8: (6 sc, inc)*6 (48).
ROUND 9: (7 sc, inc)*6 (54).
ROUNDS 10 TO 19: 54 sc for 10 rounds.
ROUND 20: (7 sc, dec)*6 (48).
ROUND 21: (6 sc, dec)*6 (42).
Do not cut the yarn. Join the upper part and the lower part together by crocheting around with sc.
Stuff the piece.
Then crochet around with 1 inc in each stitch. In the next round, work 1 hdc inc in each stitch.
Assembly and finishing
Once the lower part is ready, attach the central small ball and distribute the tentacles evenly around it. Secure each yarn tail on the wrong side with 2 or 3 knots, as indicated in the original pattern, so the pieces stay firmly in place.
When joining the upper part to the lower part, make sure the tentacles face outward and do not get trapped inside the crochet. Stuff before closing completely, taking care that the head keeps a rounded and soft shape.
Embroider the eyes between rounds 17 and 18, leaving a distance of 6 sc between one eye and the other.
For a neater finish, hide all yarn ends carefully with a yarn needle and arrange the tentacles with your fingers so they have a natural movement.
My experience and tips for crocheting this amigurumi
While reviewing and organizing this pattern, the most important thing I notice is that the beauty of the jellyfish is in the details: the head should be even, but the tentacles can have movement and small variations without affecting the final result. In fact, that mix of curled shapes and simpler strands helps the amigurumi look more lively and delicate.
To make the upper part look nice, I recommend working with consistent tension and not changing hook size halfway through the piece. If the crochet is too loose, the stuffing may show through; if it is too tight, the shape may become stiff and lose softness.
For the tentacles, it is best not to pull the starting chain too tightly. If the chain is too tight, the curls may become stiff or uneven. A slightly loose chain allows the tentacle to fall better and create a more natural shape.
Since the eyes are embroidered, this design is a good option when you want to avoid plastic safety eyes in toys for small children. Even so, it is important to embroider them with several firm stitches, fasten off securely on the inside, and check that there are no loose threads.
I also recommend arranging the tentacles before tying them permanently. Place them evenly around the base, look at the jellyfish from different angles, and only then secure the yarn tails. That small step helps a lot in making the finished toy look balanced.
Frequently asked questions
Can I use a yarn other than YarnArt Jeans?
Yes, you can use another yarn with a similar thickness. Keep in mind that the final size of the jellyfish will change depending on the material, hook size, and your crochet tension.
Is this jellyfish safe for small children?
The pattern uses embroidered eyes, which makes it safer than a piece with plastic eyes. Still, if it will be used by a small child, make sure to create firm seams, secure knots, and check that there are no loose pieces.
How can I prevent the stuffing from showing?
Work with even tension and use a hook size suitable for the yarn thickness. It is also best to add stuffing little by little, without forcing the piece too much, so the stitches do not open up.
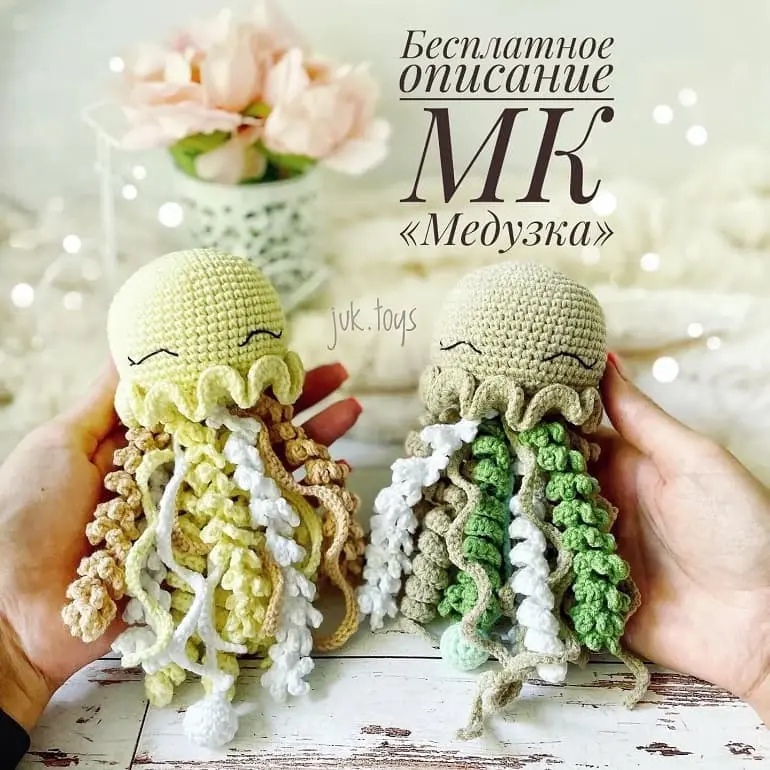
Pattern credits
Original jellyfish amigurumi pattern: @juk.toys.
Crochet with joy! Don’t forget to mention the author when posting your finished work on social media.
Did you make it? Leave me a comment or share it on social media using #PatternsAmigurumi so I can see it.
Leave a reply